Baking is a dialogue between chemistry and craft. While a recipe provides the words, your technique provides the punctuation. This guide is designed to strip away the guesswork and establish the fundamental habits that turn a good baker into a master of the bench.
Baking 101 is a work in progress. Consider this a living resource that I will continue to refine and expand. I welcome the Tribe to contribute, so if you have a ‘must-know’ tip for the community, please share it with me at dane@bakergatherer.com. Your insight might just be the next addition to our digital Handbook.
Last Updated:

The Golden Rules of Preparation
The most common failures in baking happen before the oven is even turned on. Mastering these three habits will solve 80% of your baking hurdles.
- The scale over the cup: In my kitchen, I use digital scales. A “cup” of flour can vary by 30g depending on how it’s packed; a gram is always a gram. Accuracy is the secret to consistency.
- The Emulsion Rule (Room Temperature): Unless a recipe specifically calls for cold fat (like pastry), your butter, eggs, and milk are considered best to use at room temperature (But if you’re like me, I always like to keep my butter and milk chilled, regardgress). This allows them to bond into a smooth emulsion that traps air. Cold eggs will split a creamed butter mixture every time.
- Ovens aren’t considered equal: Every oven has a personality. Use a standalone oven thermometer to find your ‘hot spots’ and ensure 180°C actually means 180°C.
- Read twice, bake once: Read the entire recipe before you touch a bowl. Understanding the sequence is just as important as the ingredients.
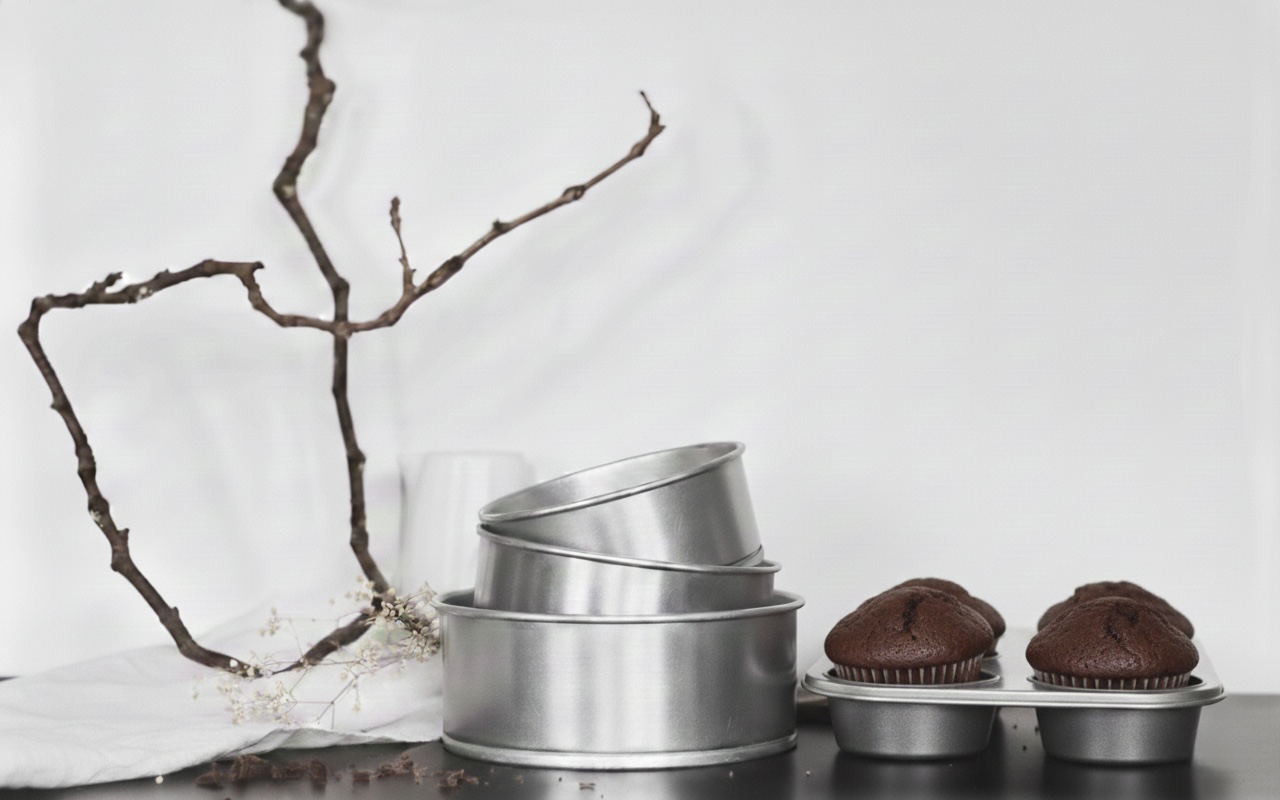
Lining Your Baking Tins
A successful bake begins with how you treat the baking tin. A poorly lined tin leads to torn edges and uneven rises.
- I advocate for the “Fringe Method” for round tines and the “Cross Method” for square. These techniques ensure your baking paper sits flush against the metal, preventing the batter from sticking to the sides or pleating.
For a step-by-step guide to these techniques, visit my Tin Conversion Guide.
Quick Trouble Shooting
- My cake peaked and cracked: Your oven was likely too hot, or you used too much leavening agent.
- My cookies spread too thin: Your butter was likely too soft, or the dough needed a chill in the fridge before baking.
- My cake sank in the middle: You likely opened the oven door too early, causing a sudden temperature drop before the structure was set.
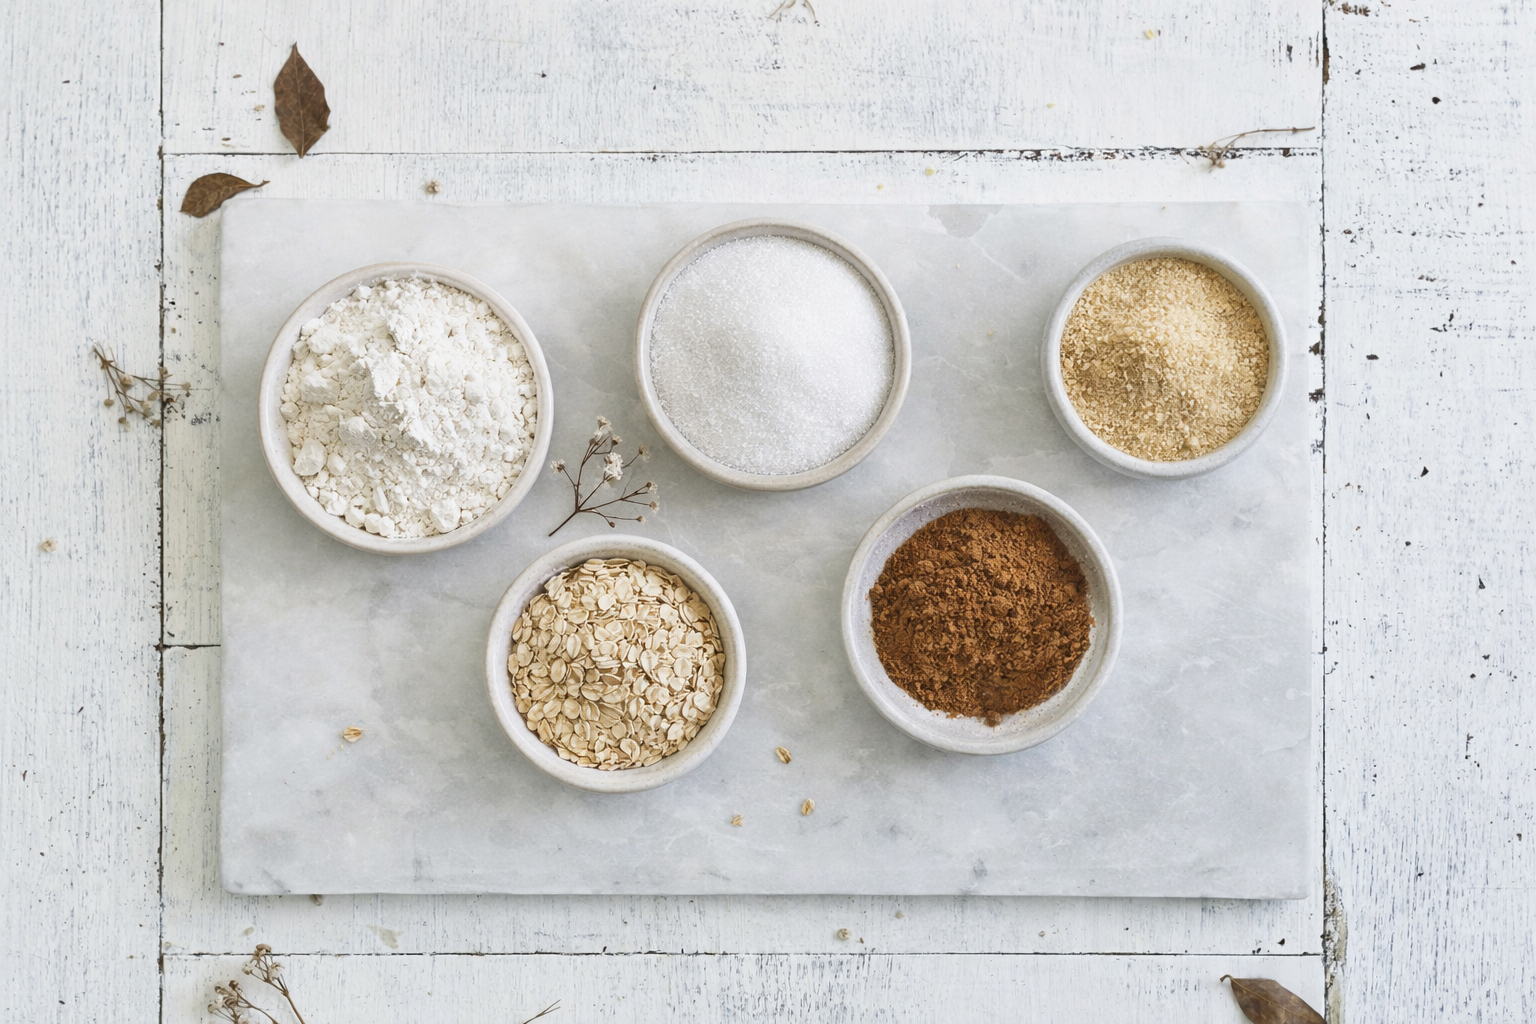
The Essential Pantry Staples
You don’t need a massive pantry to be a great baker; you just need a few reliable basics that play well together. Here are the staples I always try to have on hand:
- The Flours: I keep Plain (All-Purpose) for most things, High-Grade for bread, and Self-Raising for when I need that extra bit of convenience.
- The Sugars: Caster sugar is my go-to for light cakes, Dark Muscovado adds a lovely fudgy moisture, and Icing Sugar is essential for those final flourishes.
- The Fats: Unsalted butter gives me total control over salt. I also keep a neutral oil (like Grapeseed) for moist muffins and Full-Fat Greek Yogurt for adding a nice tang to sponges.
- The Lift: Fresh Baking Powder and Baking Soda (replace every 6 months for maximum lift).
- The Flavor Boosters: Sea Salt flakes, Vanilla Bean paste, and a whole Nutmeg for grating.
- The Chocolates: Blocks or bars with at least 50% and 70% cocoa solids. They melt beautifully and taste much richer.
Top 5 Kitchen Essentials
It’s easy to get distracted by fancy gadgets, but you can bake almost anything with just these five “best friends” on your bench:
- Digital Scales: Honestly, these are a game-changer. They take the guesswork out of “cups” and make sure your bake turns out the same way every time.
- Sturdy Whisk: You want something with a bit of backbone. A flimsy whisk makes your arm do twice the work, but a strong one makes beating eggs a breeze.
- Silicone Spatula: My favorite tool for getting every last drop of batter out of the bowl and for smoothing out buttercream for those perfectly imperfect swoops.
- Heavy-Duty Baking Tins: Thin tins tend to warp in the heat, which leads to burnt edges. Investing in a couple of light-colored, heavy-duty tins ensures your cakes bake evenly.
- Fine-Mesh Sieve: It’s an extra step, but sifting your dry ingredients makes the difference between a dense, clumpy cake and one that’s light and airy.
More Guides, Tips and Tricks
Baking Conversions
This library of conversions will be an asset for bakers of any skill level. Your new “go-to” for translating favourite American recipes or scaling a classic Kiwi bake. View Conversions Guide here →
Tin Conversion Guide
Never be limited by the size of your cake tin again. Learn how to scale any recipe to fit the vessels you have on hand with simple, reliable math. View the Tin Conversion Guide here →

Egg Size Guide
An egg is never just an egg. Understand the weight differences between grades and how to ensure your emulsions are perfectly balanced every time. View the Egg Size Guide here →
Baking Substitutes
In building this guide, I’ve dug through old manuals and asked around to find the best ‘plan b’ options for when your pantry falls short. Substitutes are great in a pinch, but remember: the original ingredient is usually the hero for a reason!
Note: Substitutes are an art of necessity, not a choice of quality. Whenever possible, stick to the primary ingredient to preserve the intended texture.
| Missing Ingredient | The Substitute | A Side Note |
| Cake Flour | 1 cup Plain Flour minus 2 tbsp + 2 tbsp Cornflour. | Sieve three times to ensure the cornflour is fully integrated. |
| Self-Rising Flour | 1 cup Plain Flour + 1.5 tsp Baking Powder + 1/4 tsp Salt. | Whisk thoroughly to make sure rising agents are well intergrated. |
| Buttermilk | 1 cup Whole Milk + 1 tbsp Lemon Juice or White Vinegar. | Let sit for 10 minutes until it slightly curdles before using. |
| Brown Sugar | 1 cup White Sugar + 1 tbsp Molasses or Treacle. | Rub together with fingertips until the color is uniform. |
| Sour Cream | Equal parts Greek Yogurt or Crème Fraîche. | Ensure it is full-fat to maintain the intended moisture levels. |
| Egg (for binding) | 1/2 mashed Banana or 1/4 cup Applesauce. | Best for dense bakes like muffins; avoid in delicate sponges. |
| Dutch Process Cocoa | Natural Cocoa + 1/8 tsp Baking Soda per 3 tbsp. | This neutralises the acidity to mimic the “Dutch” profile. |
| Heavy Cream | 3/4 cup Milk + 1/4 cup melted Unsalted Butter. | This works for baking moisture, but note: it will not whip. |
Storage & Shelf Life
One of the greatest joys of building this community is the exchange of knowledge. I’ve reached out to other bakers who have spent decades at the bench, to gather their non-negotiables for keeping a pantry at its peak. This is now the “Tribe’s Guide” to ensuring your ingredients are as ready as you are.
The Airtight Rule
The consensus from the community is clear: paper bags are for transport, not for storage.
- Flours & Grains: To keep things fresh (and to keep those pesky pantry moths at bay), move your flours into airtight glass jars or containers as soon as they’re opened. It looks beautiful on the shelf and protects your hard-earned ingredients.
- Sugars: We’ve all dealt with rock-hard brown sugar. The Tribe’s favorite hack? A “sugar saver” stone, or simply a slice of fresh bread tucked into the jar overnight. The sugar absorbs the moisture from the bread and becomes soft and usable again by morning.
The Cold Storage Secret
I was surprised to learn how many professionals utilise their freezers for more than just ice cream.
- Nuts & Wholemeals: Because whole-grain flours (like rye) and nuts have higher oil content, they can turn bitter if left in a warm pantry. Keeping them in the freezer extends their life and keeps those flavors sweet.
- Active Yeast: To keep your yeast “alive” and ready to work, the fridge is its best friend. A common tip shared by the Tribe: always “bloom” your yeast in a little warm water before you start your dough. If it doesn’t foam, it’s telling you it’s time for a fresh jar.
The “Potency” Check
When you’re not sure if that tin in the back of the cupboard is still up to the task, try these shared tests:
- Raising Agents: Drop a half-teaspoon of baking powder into hot water. If it bubbles up instantly, you’re good to go. For baking soda, use a splash of vinegar. If it’s flat, your cake will be too.
- Spices: The general rule of thumb from our experienced bakers is that ground spices lose their “soul” after about six months. If you can, buy whole nutmeg or cinnamon sticks and grate them as needed—the aroma in your kitchen will be the only proof you need.
Do you have a storage secret passed down to you, or a hack you’ve discovered through trial and error? This is an open document, and I’d love to add your wisdom to this list. Reach out to the bench at dane@bakergatherer.com.
A Baker’s Glossary
In the kitchen, certain words carry specific technical weight. Understanding these terms is the difference between following instructions and mastering the craft.
The Techniques
- Creaming: Beating room-temperature butter and sugar together until the mixture is pale, fluffy, and increased in volume. This isn’t just mixing; it’s aerating the foundation of your cake.
- Folding: A gentle motion used to incorporate delicate ingredients (like whipped egg whites or sieved flour) into a heavier batter without deflating the air you’ve worked so hard to create. Use a spatula to cut through the center, lift, and turn.
- Blooming:
- For Yeast: Dissolving yeast in warm liquid to ensure it is active.
- For Cocoa: Mixing cocoa powder with hot liquid to release the full intensity of the chocolate flavor.
- Rubbing In: Using your fingertips to merge cold butter into flour until the mixture resembles fine breadcrumbs, the secret to flaky scones and shortcrust pastry.
- Blind Baking: Baking a pastry shell without its filling. You weigh the pastry down with “baking beans” or rice to ensure it stays flat and crisp before the wet filling is added.
The Textures
- Soft Peaks: When you lift your whisk from egg whites or cream, the mixture forms a peak that gently curls over at the tip.
- Stiff Peaks: The mixture stands straight up without collapsing when the whisk is lifted. Essential for meringues and stable pavlovas.
- Ribbon Stage: Beating eggs and sugar until the mixture is so thick and pale that when you lift the whisk, the batter falls back into the bowl in a slow “ribbon” that holds its shape on the surface for a few seconds.
The language of baking is universal. Once you understand the ‘why’ behind the word, you can pick up a recipe from any corner of the globe and feel right at home.
The Science
- Emulsion: The blending of two liquids that don’t naturally mix (like oil and water). In baking, we achieve this by adding room-temperature eggs slowly to creamed butter.
- Mise en Place: A French term meaning “everything in its place.” The act of weighing all ingredients and prepping your tools before the first step of a recipe begins. It is the hallmark of a calm, curated kitchen.
Have I missed something, or something isn’t quite right? This is an open document, and I’m always looking to learn more from those who have been at the bench longer than me. Send me an email here, dane@bakergatherer.com.