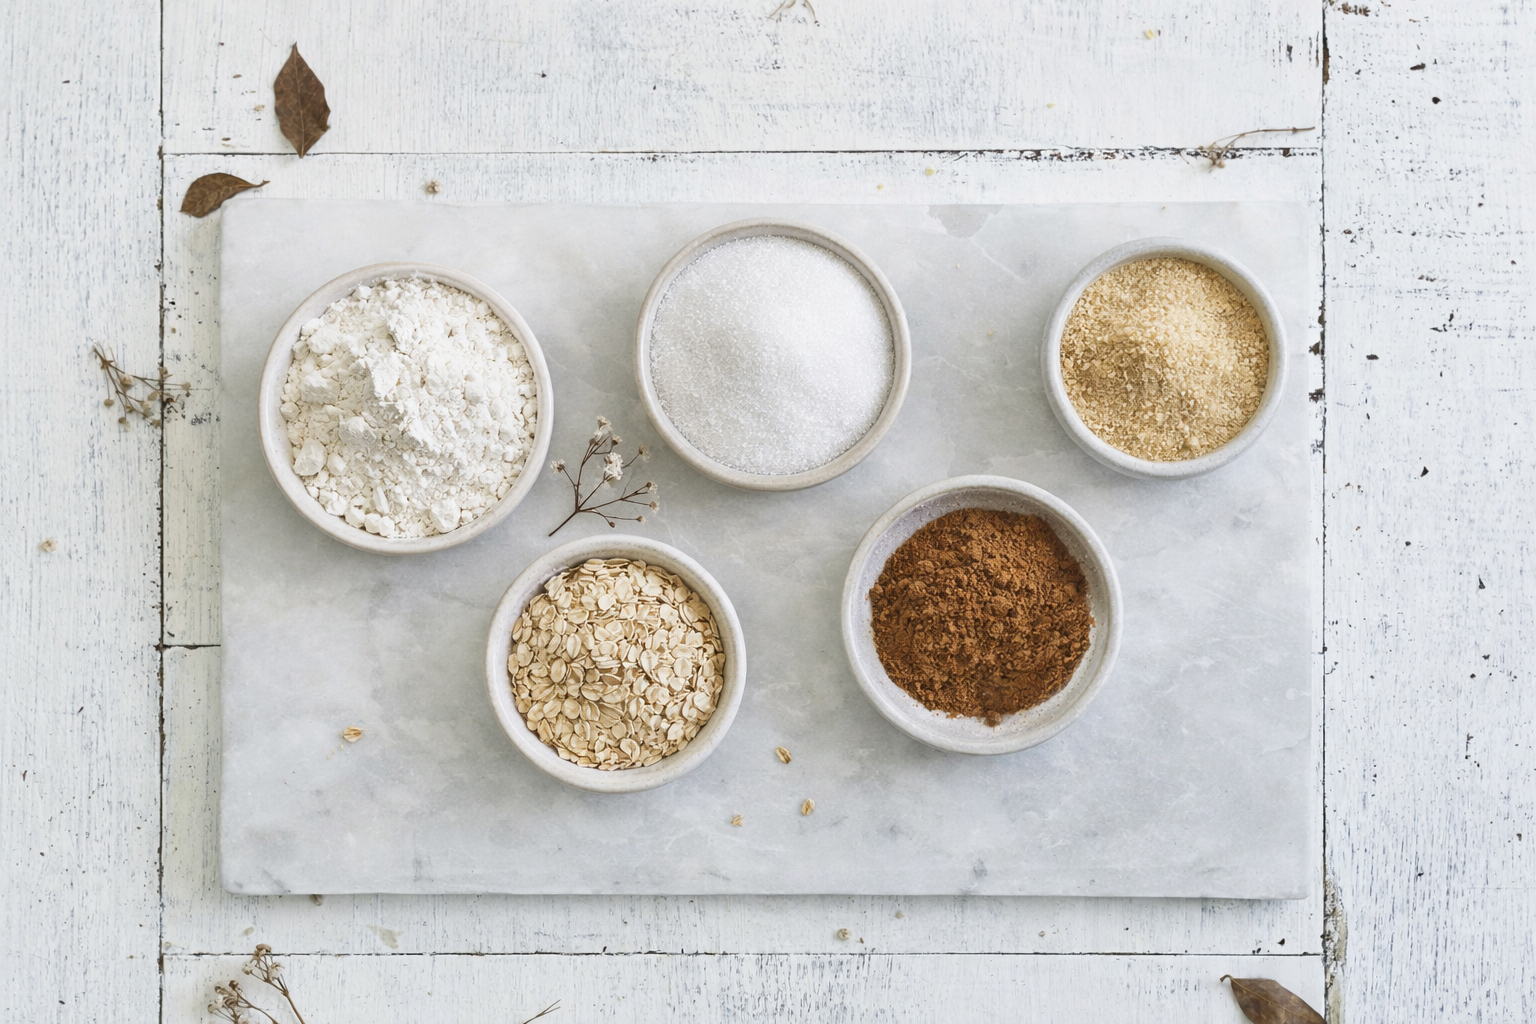
• Skip to primary navigation
  • Skip to main content
  • Skip to primary sidebar

Baker Gatherer

Sweet Fusion

  • Home
  • About
  • Recipes
    • Recipes
    • Top 6 Kiwi Biscuit Recipes
    • 4 Easy Foodie Gift Ideas
    • Little Explorer Birthday Inspiration
  • Kitchen
    • Baking 101
    • Conversions
  • Living
    • Food
    • Events
    • Travel
    • Giveaway
  • Press & PR
  • Contact

Dane McGregor

Easy Caramel Sauce

August 19, 2023 By Dane McGregor Leave a Comment

This caramel sauce it super easy to make and can be mastered by anyone at any skill level. You can drizzle this caramel sauce over ice cream, use it as a filling for cakes and pastries, or simply enjoy it straight from the spoon (I’ve been there, so no judgement here).

…

Read More

Filed Under: Sauces

Pineapple and Coconut Shortcake

June 11, 2023 By Dane McGregor 1 Comment

Taking what we already know and love about the classic kiwi shortcake, it’s time to experience a taste of paradise with this pineapple and coconut Shortcake.

…

Read More

Filed Under: Slices

Strawberry Velvet Cupcake

February 11, 2023 By Dane McGregor Leave a Comment

What’s more red than strawberries, red velvet!

But what if we could combine the two together? Now that’s exactly what I thought by taking the morrishly popular red velvet cupcake and giving it a strawberry surprise. And since strawberries pair well with vanilla, and with chocolate, why not bring them all together in one red cupcake.

Perfect for any occasion, birthdays, valentines or simply weekend baking for those who love both red velvet and strawberries. Taking what we already love about the red velvet cupcake, I didn’t want to change this too much, all I wanted to do was top it off with a subtle strawberry buttercream made from freshly made strawberry coulis. You can find the link to my Berry Couli recipe here!

Do I have to make my own couli, or can I buy it?

If you’d prefer to buy rather than make, that is absolutely fine. However it is super easy to make at home yourself, all you need is 500g of fresh or frozen berries and some caster sugar. It takes around 15 minutes to make, so I’ll share the recipe for my Berry Couli here.

Can I add more strawberries to the cupcake?

You’re more than welcome to. Personally I wanted to keep the red velvet cupcake just as it was and give the strawberry flavour through the buttercream. However you could dice and add small pieces of strawberry to your cupcake batter, just keep an eye on any changes to bake time. Alternatively you could use a tool such as an apple corer to remove a small portion of the cupcake’s centre once baked. This could then be filled with extra coulis for an extra strawberry surprise.

>> Strawberry Coulis Recipe here! <<

Print
Strawberry Velvet Cupcake
Prep Time
40 mins
Cook Time
20 mins
Total Time
1 hr
 
Serves: 12 Cupcakes
Ingredients
Cupcake
  • 120g Self Raising Flour
  • 80g Caster Sugar
  • 1 Tablespoon Cocoa
  • ½ Teaspoon Baking Soda
  • 140g Butter – Room Temperature
  • 2 Eggs
  • 2 Tablespoon Buttermilk
  • 1 Teaspoon Vanilla Extract
  • ½ – 1 Teaspoon Red Food Gel
  • 1 Teaspoon White or Cider Vinegar
Buttercream
  • 150g Butter – Room Temperature
  • 340g Icing Sugar
  • 2-3 Tablespoons Strawberry Couli (See recipe link above)
Instructions
  1. To begin, preheat the oven to 180°C and line a cupcake tin with 12 paper cases.

  2. In a medium sized bowl (or using a free-standing mixer), add and mix together the flour, sugar, cocoa and a pinch of salt (leaving out the baking soda). Then add in the eggs and butter and beat for about 1 minute, or until nicely combined.

  3. To this mixture, add in the buttermilk, vanilla and red food gel. Beat again for another 30 seconds until incorporated.

  4. Using a small bowl or ramekin, add in the baking soda. Then add in the vinegar, giving a slight mix through. Then, working quickly, add this mixture into the cupcake batter while baking soda and vinegar are still fizzing. Fold this through by hand until incorporate.

  5. Fill paper cases about two-thirds full and bake for 18-20 minutes or until the cake springs back when touched or skewer comes out clean. Remove from the oven and allow to cool completely before icing.

  6. To make the buttercream, beat the butter with a hand-beater or in a free-standing mixer for 5 minutes, scraping down the sides occasionally.

  7. Sift the icing sugar in to a bowl and add to the butter in two stages, beating for another 3 minutes between each addition.

  8. On a slower speed, add in 2-3 tablespoons of strawberry coulis, then bring the mixing speed back up and beat for another few minutes. Taste the buttercream and keep an eye on its consistency, if needed you can add more coulis to give a touch more flavour.

  9. Once the cupcakes have cooled completely, pipe a swirl or blob of buttercream on top. You can then drizzle more coulis over top if you like, or make a slight well in the centre of the buttercream and fill with coulis (as I've done in the photos above). Enjoy!

Filed Under: Cupcakes

Berry Coulis

February 11, 2023 By Dane McGregor Leave a Comment

How delicious are fresh berries. If only we could capture these wild gems in a jar. Well guess what, you can and it’s actually super easy to make and will be far better than any store-bought berry sauces or coulis.

…

Read More

Filed Under: Sauces

Cinnamon Love Cake

January 4, 2023 By Dane McGregor Leave a Comment

Let’s take a moment to fall in love with this Cinnamon Love Cake, with it’s warming flavours and delicate textures. With Persian origins as told through Iranian folklore, this recipe was created as a love potion by a Persian woman who was madly in love with a prince.

…

Read More

Filed Under: Cakes

Halloween Gingerbread House

October 22, 2022 By Dane McGregor Leave a Comment

Trick or treat, the crypt keeper wants his gingerbread house back, straight out of a delicious spiced graveyard. So readers beware, you’re in for a scare with this Halloween twist on a festive classic.

Taking the popularity of the festive gingerbread house, I wanted to give it a slighter darker and minimal (yet still beautiful) appearance by reimagining it in a different setting. With mausoleum vibes and gothic influences, this Halloween Gingerbread House should become a new tradition each spooky season. After all, do we really need more excuses to eat gingerbread…

Tools needed

Firstly, you’ll need a printer to download and print out a template HERE. Once printed, I found it best to trace the template onto pieces of greaseproof paper. This is because regular paper may stick to the rolled out dough and not pull away cleanly once shapes are cut out. Greaseproof paper comes away like a dream.

Other than your regular baking equipment, you’ll also need a baking tray, rolling pin, sharp knife and lots more greaseproof paper. To decorate you’ll need piping bags and tips or squeezy bottles with small nozzles and perhaps a paint brush and ruler to pre-draw designs on the baked dough (See my example photo below).

Decoration ideas

If you do an image search online, there are plenty of Halloween themed gingerbread houses to offer inspiration. You can use different coloured icings, chocolates and lollies to create your haunted or sweet treat fantasy. You could incorporate skeletons, ghosts, bats, pumpkins, cobwebs, spooky trees and of course, the undead.

For my design, I really wanted to go minimal and more graphical. I tossed up the idea of creating a witches house, much like the gingerbread house that Hansel and Gretel visited covered in candy. However I decided to keep the colour palette in brown, black and white. This had me looking at different design elements of Gothic and Victorian architecture and then came back to a boxed mausoleum concept. This was perfect, because I wanted to make little gingerbread grave stones and set my Halloween gingerbread house in a cemetery. My decorations were very minimal too, using only black and white royal icing to create the exterior patterns, a rickerty roof made of licorice ribbons and feature roof spikes using black chocolate melts. When it came to styling my gingerbread house, I found some lifesaver lollies in my pantry and felt they’d make some neat paver stones leading up to the front door. Easy and simple.

Construction tips

Some gingerbread house designs require or include a base piece, however I prefer to leave this out and directly adhere my house structure to my display or serving board with white royal icing.

When it comes to decorating, make sure you draw your design on your panels of gingerbread while they’re flat, so before it’s constructed. This will make it easier to ice any kind of intricate design. Before icing I also drew on my design using a brush and water with a small amount of black colour gel in it. This allowed me to follow over easily when piping the royal icing.

When You’re ready to start piecing your house together, I use a technique much like building a house of cards. I start by applying a generous amount of white royal icing to the bottoms and adjoining edges of the front and side panels. Having the font panel on the outer edge, I hold these panels together and balance them as straight as possible until they’re semi firm enough to move my hands away. You can use other household items (Eg. can or jar) to gently keep panels upright while you prep the other pieces. Continue making your way around the house, until all 4 wall panels are in place. For the roof, again apply a generous amount of royal icing to the top edges of the walls, place roof panels centered on top, manoeuvre and hold in place until semi set (you can use household items again to help keep them in place until set).

For my roof design I cut up flat licorice ribbons to resemble roof tiles, then used black royal icing to set them in place. To finish the look I wanted to add spikes to the top centre of the gingerbread house. So I drew up a design on paper and taped greaseproof paper over top. I then gently melted black chocolate in a bowl over a pot of boiling water, until smooth. I then piped this over the design and placed it in the fridge to set.

For this recipe, I didn’t want to recreate the wheel. So thank you Chelsea for providing me with the recipe below.

Download Halloween Gingerbread House template HERE.

Print
Halloween Gingerbread House
Ingredients
Dough
  • 3 ½ Cups Flour (525g)
  • ½ Tbsp Baking Powder
  • 2 tsp Ground Ginger
  • 1 tsp Mixed Spice
  • ¼ tsp Cardamon
  • 125g Butter
  • 1 Cup White Sugar (225g)
  • ½ Cup Golden Syrup (180g)
  • ½ Tbsp Lemon Juice
  • 1 Egg, whisked with a fork
Royal Icing
  • 1 Egg White
  • 2 ½ – 3 Cups Icing Sugar (375g – 450g)
  • 1-2 Tbsp Lemon Juice
  • Black Colour Gel
  • Mixed lollies, or sprinkles for decoration
  • Licorice Ribbons for roof
  • Chocolate Melts (Optional)
Instructions
  1. Print out the Gingerbread House Template and cut out. It is best to transfer the template to baking paper as normal paper can stick to the dough.

  2. Preheat oven to 170°C bake. 

  3. Sift Flour, Baking Powder, ginger, mixed spice and cardamom into a large bowl.

  4. In a large saucepan, stir Butter, White Sugar and Golden Syrup over a medium heat until sugar has dissolved. Remove from heat and leave to cool for 15 minutes.

  5. Mix in lemon juice and egg. Pour liquid mixture into dry ingredients and work into a soft pliable dough (add a few tablespoons of warm water if needed).

To create the house shapes
  1. Divide mixture into four or five pieces and roll out each piece of dough between 2 sheets of baking paper to a thickness of about 5mm. Remove the top layer of paper. Using the template provided, cut out 2 sides, 2 ends, 2 roof panels

  2. When cutting out the gingerbread, the dough will retain its shape better if you remove the surrounding excess dough and leave the cut out template piece on the baking paper, then transfer directly to a baking tray.

  3. Bake pieces for 10-12 minutes, or until golden and set. Allow to cool and harden.

To make the royal icing and construct house
  1. Make icing by whisking egg white in a bowl with a fork until frothy. Add Icing Sugar and lemon juice and mix to a thick white paste, adjusting quantities of icing sugar and lemon juice as required. Divide icing across 2 bowls, leave one white, and mix the black colour gel through the second until smooth. Transfer each colour to a piping bag fitted with a small round piping tip or squeezy bottle with a small nozzle.

  2. Use the icing to pipe decorations on the sides, creating doors and windows. Add any sprinkles as you go (save heavier lollies to attach later).

  3. Assemble the house directly on your display board and attach the sides and ends with royal icing. Hold each piece for a few minutes until dry and set in place.

  4. For extra structural support, pipe a thick layer of icing along the inside of each roof piece, where the roof will rest on the sides of the house. These act as ledges, to help hold the roof up. Allow the 'ledges' to dry completely, then attach the roof with extra icing.

  5. Decorate the roof while flat (I used the licorice ribbons), then place on top of the 4 walls. Now that the house is nice and stable, attach any heavier lollies or roof details. Cover any joins in the house with icing to tidy anything up.

  6. Finally decorate your grave stones and use more royal icing to stick them to your display board. Now you’re ready for the spooky season. Trick or treat!

For more details notes on construction, see section above recipe.

Filed Under: Uncategorized

Red Velvet Brownie

January 29, 2022 By Dane McGregor Leave a Comment

Perhaps it’s the colour red, perhaps it’s the cream cheese or perhaps it’s the flavours of vanilla and cocoa all in one, but this Red Velvet Brownie ticks all of those boxes and demands a slice right now!

…

Read More

Filed Under: Slices

Hokey Pokey Cheesecake Bar

December 4, 2021 By Dane McGregor Leave a Comment

The flavour of Hokey Pokey is world famous in New Zealand and is best known for the iconic balls that fill vanilla ice cream or coated in chocolate to become the nostalgic yet timeless Crunchie Bar.

…

Read More

Filed Under: Desserts

Hokey Pokey

December 3, 2021 By Dane McGregor Leave a Comment

Hokey Pokey is world famous in New Zealand and is an iconic flavour where chucks fill vanilla ice cream or it gets coated in chocolate and becomes the nostalgic yet timeless Crunchie Bar.

Known around the world as Honeycomb or Honeycomb Toffee, in our little corner we’ll still call it Hokey Pokey. So, no matter how you serve yours, this recipe will be like a little taste of kiwiana.

…

Read More

Filed Under: Sweets

Pinky Square

September 9, 2021 By Dane McGregor 4 Comments

I love my slices to have layers for 3 reasons, first because the block colours look amazing, secondly because the layers taste amazing together and thirdly because who doesn’t love all the different flavours and textures. Luckily this Pinky slice ticks all of those boxes!

…

Read More

Filed Under: Slices

  • Page 1
  • Page 2
  • Page 3
  • Interim pages omitted …
  • Page 11
  • Go to Next Page »

Primary Sidebar


WELCOME TO BAKER GATHERER, THE LONE JOURNEY IN SEARCH OF SWEET FUSION

  • Bloglovin
  • Email
  • Facebook
  • Instagram
  • YouTube

are you on Instagram?

I love cake, but I also love coffee. And this seas I love cake, but I also love coffee. And this season calls for plenty of iced coffees. 

The perfect pairing with an iced coffee is this Chocolate Coffee Cake with a Coffee Mascarpone filling, recipe below. Hands up if you love both cake and iced coffees 🙌🏼.

✏️ Chocolate Coffee Cake

500g @bakelshomebaking Moist Chocolate Cake Baking Mix
½ Cup Water (Room Temp)
4 Eggs (Size 6 or 7)
1 Cup Vegetable Oil
2 Tablespoons Granulated Coffee

✏️ Coffee Mascarpone

500g Mascarpone
2 Tablespoon Granulated Coffee
3-4 Teaspoons Hot Water
6 Tablespoons Icing Sugar
Dark Chocolate

✏️ Method

1 - Preheat the oven to 180°C fan bake and grease the sides and line the bases of 2 x 20cm round springform cake tins with greaseproof paper. Set aside.

2 - Place the cake ingredients into a mixing bowl and beat on a low speed for 1 minute. Scrape down the sides and beat for another couple of minutes until smooth.

3 - Using kitchen scales, evenly measure cake mixture across the 2 prepared baking tins and bake for around 35-40 minutes, or until an inserted skewer comes out clean. Remove from the oven and allow to cool completely before filling.

4 - To make the coffee mascarpone filling, start by dissolving the granulated coffee with the hot water in a small bowl or ramekin, then set aside to cool. Meanwhile, beat together the mascarpone and icing sugar until smooth. Add the cooled coffee mixture and beat once again until incorporated.

5 - To assemble, place the first layer of cake onto a serving dish or cake stand, then evenly cover with a layer of coffee mascarpone. Gently place the second cake layer on top, then cover with another generous layer of coffee mascarpone. To finish, grate chocolate over top and serve alongside a freshly made iced coffee, or at your next BBQ celebration.

Serves: 10+ Slices
So who is Dane, the face behind Baker Gatherer. Le So who is Dane, the face behind Baker Gatherer. Let me tell you, he’s a pretty sweet dude 😆 

Swipe for a couple tidbits…

Now, do you want to know anything else?
The Easter season is nearly upon us, which means H The Easter season is nearly upon us, which means Hot Cross Bun are ready to be enjoyed. With that said, @newworldnz always has a plentiful selection of Easter treats, especially Hot Cross Buns. This year I’m offering a different twist on an Easter tradition, and introduce these Hot Cross Bun Kebabs.

These Hot Cross Bun Kebabs are super easy to make and are served with a sweet Whipped Cream Cheese to dip. You can also use any of your favourite or seasonal fruit to make these kebabs your own. I’ll share the method and recipe below so you can make these delicious kebabs at your place this Easter!

So, don’t forget to grab some Hot Cross Buns from your local New World, and check out their website for plenty more Easter inspired recipes.

💥 Hot Cross Bun Kebabs

✏️ Ingredients

1 Pack of Hot Cross Buns from New World
2 Nectarines
2 Bananas
Grapes (Note: You can use any of your favourite or seasonal fruit)
Lemon Juice

130g Cream Cheese
100ml Fresh Cream
50g Caster Sugar
1 Teaspoon Vanilla Extract

✏️ You’ll Need

Wooden Kebab skewers 

✏️ Method

To make the Whipped Cream Cheese:

1. Add the cream cheese and caster sugar into a bowl, and using a hand-held mixer, beat for 2-3 minutes until combined and fluffy.
2. Pour in the cream and vanilla extract and again beat for 2-3 minutes until smooth and fluffy.
3. Scoop into a serving bowl, cover and chill in the fridge until serving.

To make the Hot Cross Bun Kebabs:

1. Cut the hot cross buns into cubes, roughly 8 pieces per bun. Place cubes on a baking tray and grill each side until lightly toasted, turning regularly. Once all cubes are toasted, set aside to cool.
2. Dice your favourite or seasonal fruit into cubes, similar sizes to the hot cross bun cubes. Then dip or roll your diced fruit through lemon juice to prevent any browning.
3. To assemble your kebabs, alternate between various diced ingredients, starting with a hot cross bun cube at the base. Repeat until skewer is full. Serve immediately alongside the Whipped Cream Cheese, or chill in the fridge until serving. Enjoy.

Serves 12+
I feel I’m in denial the seasons are slowly star I feel I’m in denial the seasons are slowly starting to change. The long hot summer evenings are starting to slip and the mornings a getting darker and cooler… now where are my slippers?
Follow Baker Gatherer

keeping up with the jones

Would you like me to let you know when I share new recipes and content? You can subscribe below.

Loading

something sweet at random

Copyright © 2025 · Baker Gatherer